Live streaming has become increasingly popular for connecting with audiences in real-time.
CapCut is a versatile free web video editing tool allowing you to create professional-looking live-stream videos easily. In this step-by-step guide, we'll walk you through the process of using CapCut to create an engaging live stream video.
Step 1: Sign Up for CapCut
- Go to your browser.
- Search for CapCut.
- Add your details, then tap Sign Up.
Step 2: Create a New Project

Source: CapCut
- Click “+” to create a new project.
- Choose the desired aspect ratio for your live stream video, such as 16:9 for a standard widescreen format.
- Enter a name for your project and tap “Create” to proceed.
Step 3: Import and Arrange Media Files
- Tap on the “Media” button at the bottom of the screen to import media files for your live-stream video.
- Choose the desired media files from your device's gallery or storage.
- Once imported, arrange the media files in the desired order by dragging and dropping them on the timeline.
Step 4: Edit and Enhance Your Video
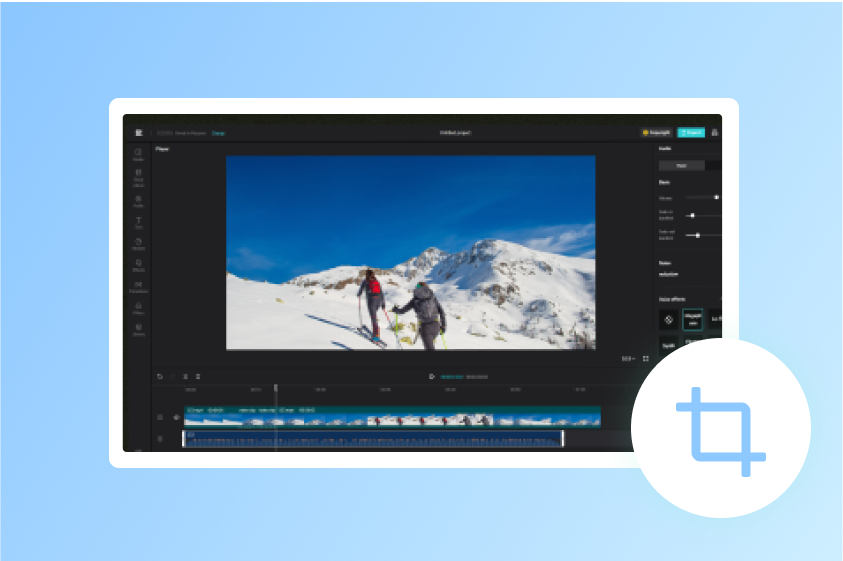
Source: CapCut

- Tap on a media file on the timeline to select it.
- Use the editing tools at the bottom of the screen to enhance your video. These tools include trimming, cropping, adding filters, adjusting brightness/contrast, and more.
- Adjust each media file as needed to achieve your live-stream video's desired look and feel.
Step 5: Add Text and Graphics
- Tap on the “Text” button at the bottom of the screen to add text to your live-stream video.
- Pick different font styles, colors, and sizes.
- Enter the desired text and position it on the screen by dragging it to the desired location.
- Use the “Graphics” button to add stickers, emojis, or other graphic elements to your video.
Step 6: Customize Video Settings
- Tap on the “Settings” button (gear icon) at the top right corner of the screen.
- In the settings menu, you can adjust various video settings such as resolution, frame rate, and bitrate.
- Customize these settings based on your live stream platform's requirements or your personal preferences.
- Once you've made the desired changes, tap on the back button to return to the main editing screen.
Step 7: Add Live Stream Features
- CapCut allows you to incorporate live stream features such as overlays, animations, and real-time comments.
- Click “Live Stream.”
- Choose from the available live stream features and select the ones you want to include in your video.
- Customize the settings for each feature, such as the position and duration of overlays or the appearance of real-time comments.
- Preview the video with the live stream features to ensure they are placed and functioning as desired.
Step 8: Add Background Music and Audio

Source: CapCut
- Tap on the “Music” button at the bottom of the screen to add background music to your live-stream video.
- Choose from the preloaded music library or import your own audio files.
- Adjust the volume and duration of the background music as needed.
- If desired, tap the “Voiceover” button to record and add your narration or commentary to the video.
- Also, remove any unwanted background using a background remover available in CapCut.
Step 9: Add Transitions and Effects
- Tap on the “Transition” button at the bottom of the screen to add transitions between different media files.
- Choose from a range of transition options and apply them to the desired locations on the timeline.
- Adjust the duration and style of each transition to create smooth and seamless visual transitions between your video clips.
- Tap on the “Effects” button to add visual effects such as blurs, color adjustments, or overlays.
- Experiment with different transitions and effects to give your live stream video a polished and professional look.
Step 9: Fine-tune the Video Timeline
- Use the timeline at the bottom of the screen to precisely control the timing and order of your video clips, text, and graphics.
- Drag and adjust the length of each clip to create the desired pacing and timing for your live-stream video.
- Ensure that the transitions between clips are smooth and the overall flow of the video is coherent.
- Trim or split video clips as needed to remove any unwanted sections or refine the storytelling of your live stream video.
Step 10: Apply Filters and Color Corrections
- Tap on the “Filters” button at the bottom of the screen to apply pre-set filters to your video.
- Choose from various filters to enhance your live-stream video's overall mood and aesthetics.
- Adjust the intensity or customize the filter settings to achieve the desired look.
- Additionally, use the “Adjust” button to fine-tune your video clips’ brightness, contrast, saturation, and other color parameters.
Step 11: Review and Adjust Timing
- It's crucial to ensure that the timing of your video aligns with your live stream plan.
- Tap on the “Timeline” button at the bottom of the screen to view the timeline more closely.
- Review the duration of each media file, transition, and effect to ensure they flow seamlessly.
- Adjust the timing by dragging the edges of media files or transitions on the timeline as needed.
- Pay attention to the overall pacing and make necessary adjustments to create an engaging live-stream video.
Step 12: Save and Store Your Project
- Once you're satisfied with your editing and adjustments, tap on the back button to return to the main editing screen.
- Tap on the save button at the top right corner of the screen to save your project.
- CapCut will prompt you to choose a storage location or create a new folder to store your project.
- Select the desired storage location and tap “Save” to securely store your project.
Step 13: Export and Share Your Live Stream Video

Source: CapCut
- After saving your project, tap on the export button at the bottom of the screen to export your live-stream video.
- Choose the desired video quality and format suitable for your live-streaming platform or audience.
- Wait for the exporting process to complete.
- Once exported, you can share your live-stream video directly to your preferred live-streaming platform or save it to your device for future use.
- Follow the respective platform's guidelines to start your live stream and share your video with your audience.
Conclusion
Creating an engaging live stream video with CapCut is a straightforward process that allows you to customize and enhance your content using various editing tools, effects, and features. By following the step-by-step guide outlined above, you can produce professional-looking live-stream videos that captivate and connect with your audience. Experiment with different editing techniques and unleash your creativity to make your live streams truly stand out.